• Skip to primary navigation
  • Skip to main content
  • Skip to primary sidebar
Messy Vegan Cook
  • Recipes
  • Thai Food + Travel
  • Supper Clubs
  • Subscribe
    • Bloglovin
    • Instagram
    • RSS
menu icon
go to homepage
subscribe
search icon
Homepage link
  • All Recipes
  • Thai Food and Travel
  • London Vegan Supper Clubs
  • About
    • Bloglovin
    • Email
    • Facebook
    • Instagram
    • Pinterest
    • RSS
    • Twitter
  • ×

    Home » Easy Vegan Recipes » Pastry

    Easy homemade vegan fried wonton skins

    23 September, 2020 by Kip Leave a Comment

    I developed this vegan wonton skins recipe for deep frying, specifically as an accompiment for Thai noodle soups. Geow tod, or fried wonton wrappers, are a simple fried trimming that blends beautifully with seasoned stock. This is especially true for yentafo noodles. In Thailand this pink noodle soup generally arrives garnished with a crispy wonton square (or triangles, depending on the cook's preference).

    A guilty, if perhaps non traditional, pleasure is to fry more wonton skins than necessary in order to soak up any remaining liquid at the bottom of my bowl of yentafo.

    Wonton skins for frying

    You might notice a seemingly unusual ingredient included in my recipe below. Sodium carbonate is no more than baked baking soda, a method of creating alkaline salts introduced by Harold McGee several years ago. Have a read through my recipe for homemade ramen noodles for more information on alkaline salts and their purpose. 

    The reason I use sodium carbonate in this recipe is twofold. First it imparts a slight alkaline flavour commonly found in Thai brands I’ve enjoyed over the years. Second, the alkalinity of the dough aids in a longer lasting crispness once fried.

    Thai wonton skins
    Print Recipe

    Vegan wonton skins (for frying)

    I developed this fried wonton recipe to complement Thai noodle soups, especially my yentafo recipe. These skins can be filled, shaped, and fried as well. You'll get 30-40 sheets out of this recipe, depending on how thin your pastry is rolled and how thrifty you are with wonky edge bits.

    Equipment

    • pasta machine

    Ingredients

    • 125 grams all purpose flour
    • 20 grams tapioca starch + extra for dusting
    • ¼ rounded teaspoon sodium carbonate see notes
    • Pinch salt
    • 1 ½ teaspoons vegetable oil
    • 50-70 millilitres cool water

    Instructions

    • Mix flour, tapioca starch, salt, and sodium carbonate together in a bowl.
    • In another small bowl mix the oil and 50 millilitres of cool water. Pour into the flour mixture. Knead, adding more water, a teaspoon or two at a time, until the dough comes together. Refrigerate the dough for at least an hour.
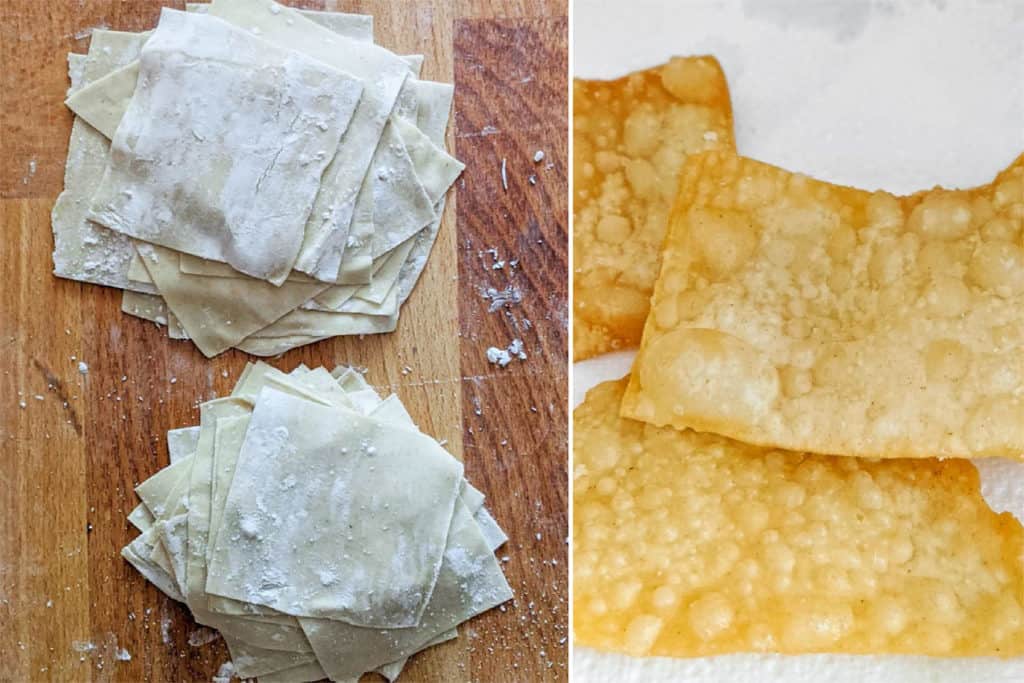
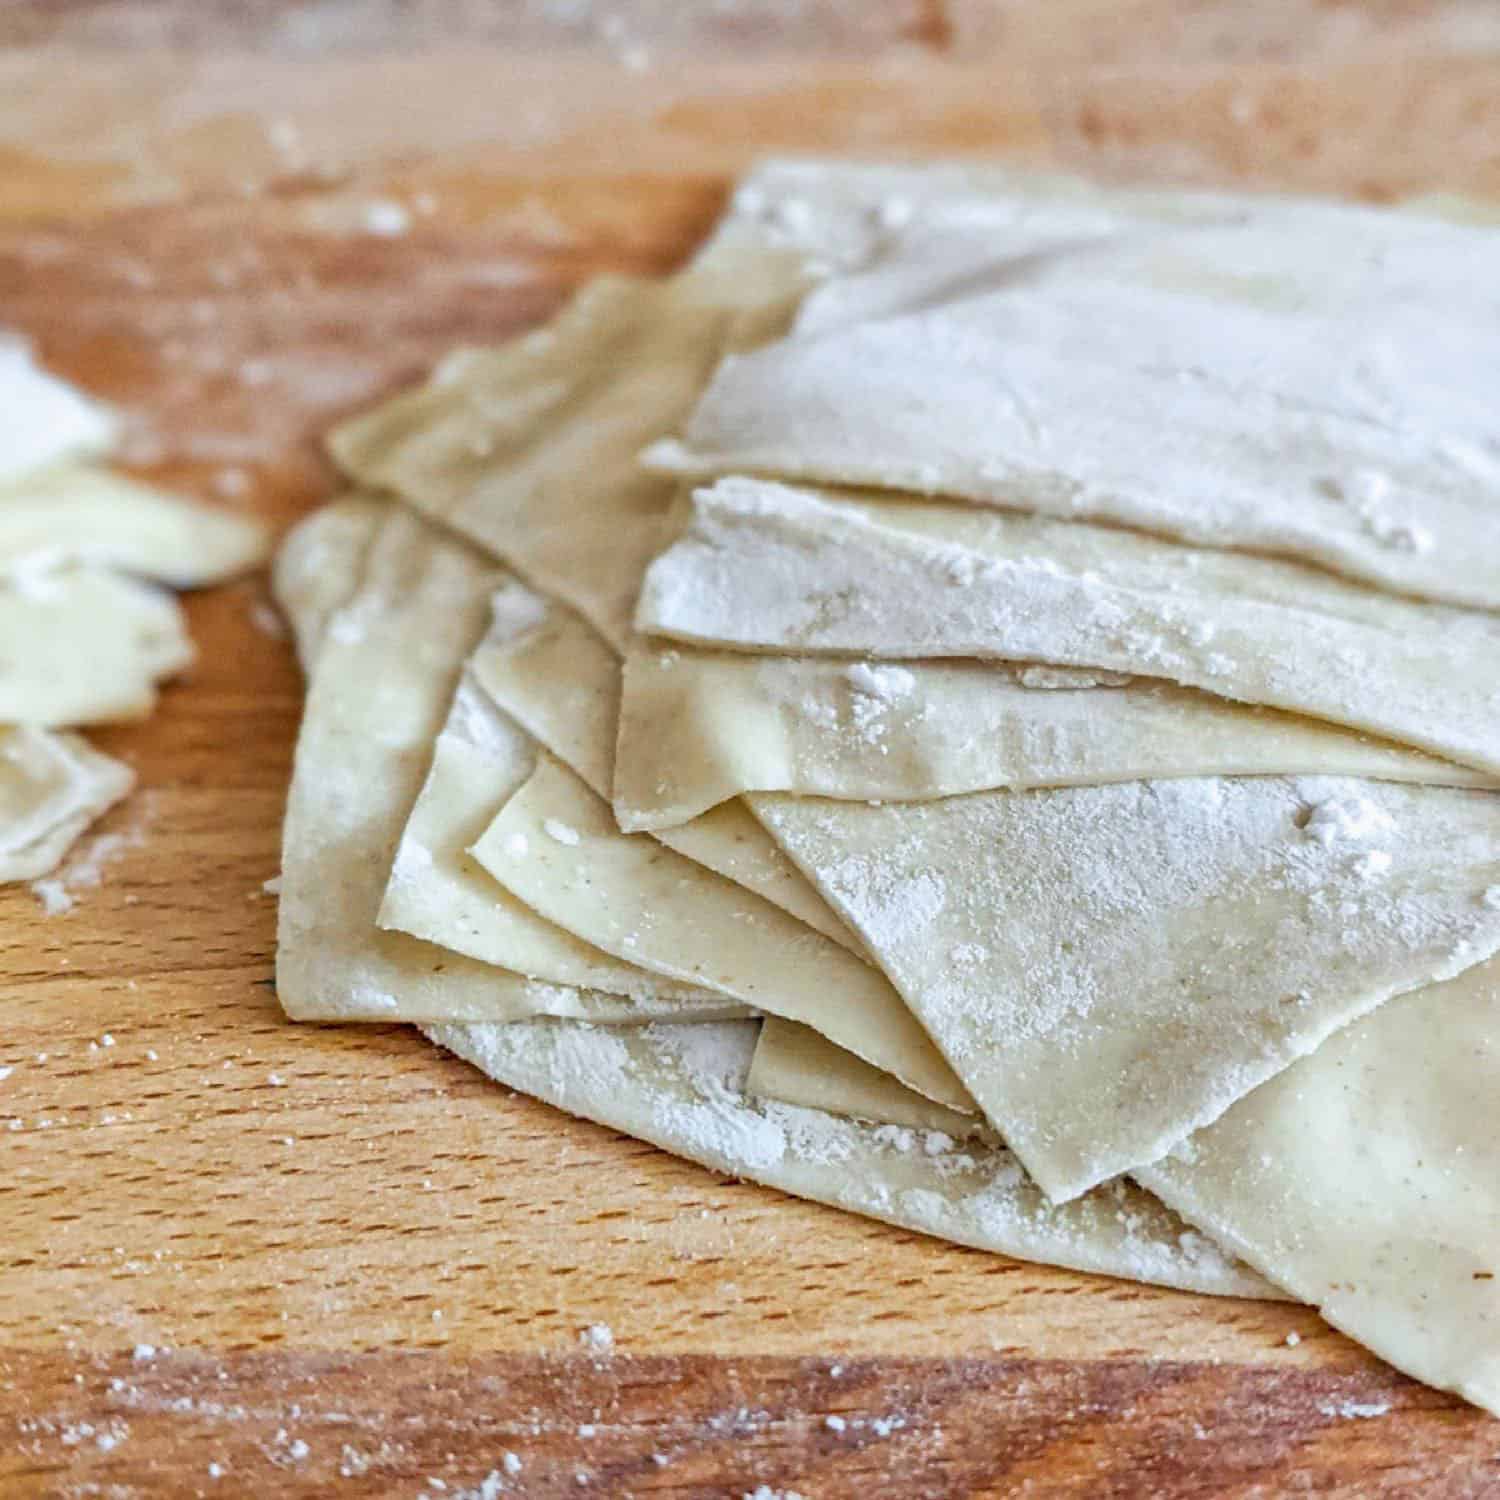
    • Use a pasta machine to make thin 0.8mm to 1mm thickness sheets. Dust liberally with tapioca starch and cut into approximate 8-9cm squares. You can cut these further into triangles, if you wish (some Thai vendors serve them in this shape). Mine are always wonky square-ish shapes. You can use a rolling pin as well, if you want to work for it. Keep in mind the inclusion of sodium carbonate makes for a tougher, less pliable dough.
    • Stack the wonton skins you don't intend to use immediately and wrap in cling film or pop in a sealed container. They’ll keep in the fridge for a few days, maybe up to a week. Alternatively you can freeze them.
    • Line a large dish, tray, or pan with kitchen roll and set it next to the hob.
    • Heat a few inches of oil in a wok to about 190 degrees Celsius (375 Fahrenheit). The wonton skins should take only 15-20 seconds to cook to a deep golden colour. You can test this by tossing a scrap of the pastry in the oil. To cook, add one or 2 of the sheets at a time, turning once or twice, frying until they are bubbly and a light golden colour. Remove with a mesh strainer to the lined tray. Repeat with remaining skins.
    • The fried skins will only keep for a couple of days in a sealed container. Consequently I tend to fry as I need them.

    Notes

    It's very easy to make sodium carbonate at home. All it takes is baking soda and some time. Heat your oven to between 125 - 140 degrees Celsius (250 to 300 degrees Fahrenheit). Spread baking soda into a thin layer on a clean, dry tray, and bake for an hour. Voilà, you have sodium carbonate!

    More Pastry

    Reader Interactions

    I reserve the right to improve any malicious and trollish comments left below. Please do not comment about nonvegan products or activities.

    Leave a Reply Cancel reply

    Your email address will not be published. Required fields are marked *

    Recipe Rating


    Primary Sidebar

    Name's Kip. Some things about me: vegan, Thai food enthusiast, comfortably chaotic and disorganised, information lover, Londoner, cookbook collector, clumsy AF, rarely takes a serious photo, has never been on a diet. This is not a wellness blog.

    More about me →

    • All recipes
    • Thai food + travel
    • General travel
    • Reviews
    • Food facts
    • Thai fried tofu with sweet peanut dipping sauce
    • Thai winged bean salad (yam tua pu)
    Vegan Thai Recipes
    Vegan Travel in Thailand
    Kippysnacks logo

    I run vegan Thai supper clubs at my home in East London.

    Think Like a Vegan

    Think Like a Vegan Book

    A thoughtful read for long time vegans and nonvegans alike, this is one of the best styles of arguing for and discussing veganism I have yet to find. Highly recommended reading.

    Footer

    ^ back to top

    About

    • About
    • Frequently Asked Questions
    • Privacy policy
    • Relationships and disclosures
    • Comments Policy
    • PR and Review Policy
    • Freelance and Consultancy

    Contact

    Email me
    • Facebook
    • RSS Feed
    • Instagram
    • Pinterest
    • Twitter

    Newsletter

    All content on this site, including, but not limited to, text, recipes, and photographs are owned by Messy Vegan Cook and its contributors. No content may be reprinted or reproduced without permission. As an Amazon Associate I earn from qualifying purchases.

    Copyright © 2020 Messy Vegan Cook