Tofu used to disgust me. Then something happened to change my mind: I went to China. Cliché or not, my venture into bean curd as a food occured at at Gong de Lin restaurant in Beijing, and it's one of my most treasured memories to date. But here's a tip, folks: if you don't know how to use chopsticks, I recommend you don't begin your education with a steaming pot of silken tofu. My wrists swollen and aggrieved by what I'd put them through, I still went on from this newfound appreciation of bean curd to try every tofu dish I could find. I returned home to the UK determined to devour as much as I could find, to better educate myself.
Alas, I was disappointed. Supermarket tofu was a far cry from the stuff I'd enjoyed in Asia. One more trip to Southeast Asia a year or two later saw me return home once more with a new goal in mind. I would make my own tofu, and experiment 'til blue in the face to obtain a good, firm tofu that didn't taste like the culinary equivalent of meh. Here's one of my basic tofu recipes, using a Soy Quick, for a good, solid firm cake.
The tofu making arsenal
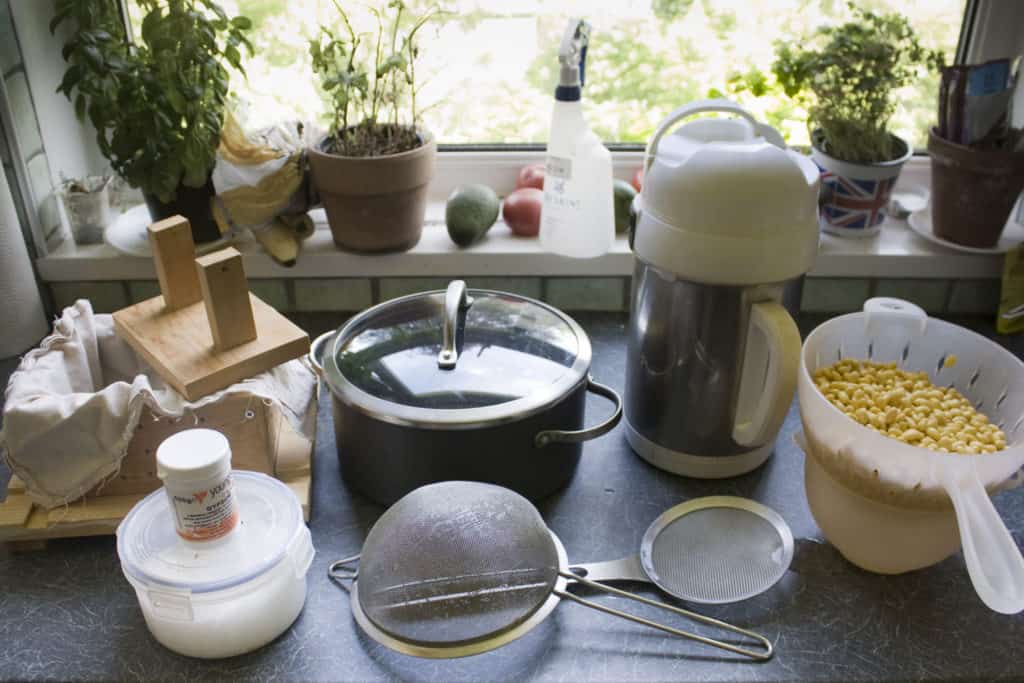
Tofu is really easy to make. Granted the supplies you need look like a lot, but I'd be willing to bet you have most of what you need already. The two things you're not likely to have are a tofu mould/press and coagulant, perhaps soybeans too.
- Dried soy beans can be purchased pretty easily these days. I buy in bulk, up to 25 kilograms at a time, and store them in a supersized tupperware box under the sofa.
- A blender or soy milk maker is necessary to make the soy milk, which you need prior to curdling it to obtain the curds for tofu. I use a Soy Quick machine, but a blender should work fine too as the process is essentially one of blending soaked beans with hot water and straining to acquire soymilk.
- Straining tools are hence useful, since it helps you skim loose bits of soy pulp out of the milk and aids in separating the curds from the whey in the final stages.
- A large pot with a lid doubles as a receptacle for the fresh soy milk as well as a holding pen for the curdled milk before it's strained.
- Some sort of coagulant, such as nigari or gypsum (calcium sulfate), is a must to turn your milk into curd.
- Plenty of thin muslin fabric or thick cheesecloth will help form the tofu as well as allow liquid to escape while holding the curds inside.
- A tofu mould lets you press the curd, once drained from the whey, into what you'd recognise as tofu. This is one piece of kit you probably don't have and won't find easily, but you can ghetto craft it out of old tupperware (drill some holes), find a cheap plastic one online, or go all out and find a nice wooden crafted one (my dad made mine because he's awesome). You could even use a colander lined with muslin (you just don't have a uniform block of tofu is all). Needless to say, you have many options.
Making the Fresh Soy Milk
Soak about 350g of soy beans (that's 4 of the cups Soy Quick provides worth of dried beans) overnight. When you're ready to make your soy milk, drain the water and rinse the beans. The soaked and drained weight of the beans will be in the 875g ball park.
Place 220 grams (approximately 25%) of the soya beans into the basket of your Soy Quick machine and fill the jug to somewhere close to the higher mark (about 1.5 litres of water). Run the machine on a single cycle, remove the basket, discard the pulp, and add another 220g soy beans to the basket. Run the machine again with these beans in the original batch of soy milk.
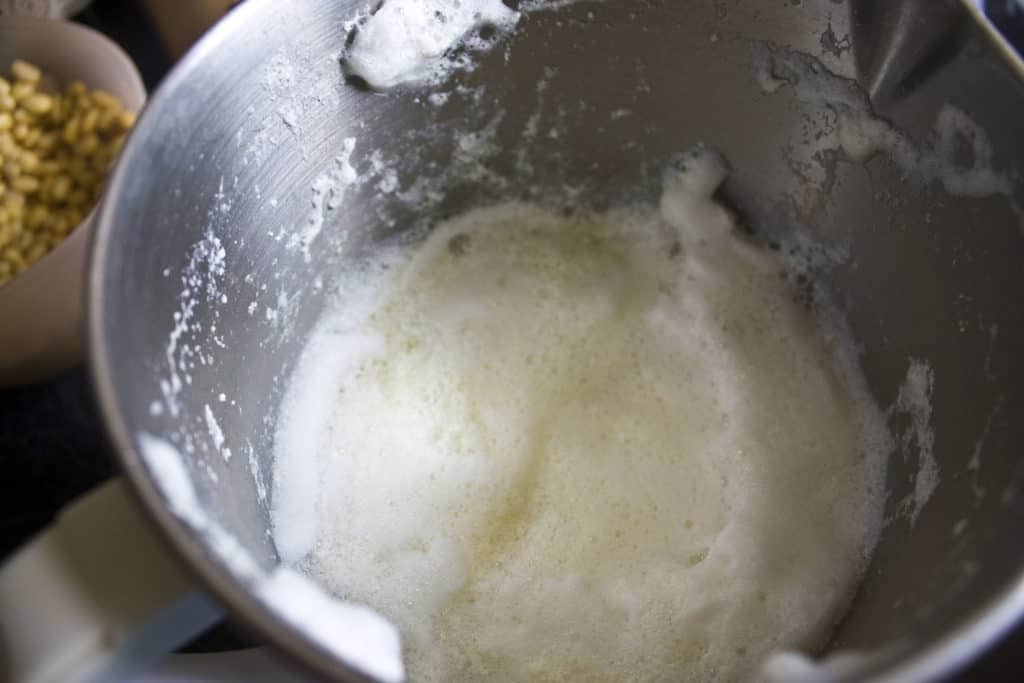
You'll notice a layer of foam and random pulp on the milk when it's done, which you can strain away if you want a smoother tofu.
So once the second cycle is finished, skim the foam away from the top of the milk, but don't worry too much about getting everything out (you could be there for days). You just want to move the majority of the visible stuff away.
Keep it warm, buddy!
Pour the first batch of milk into a large dutch oven or pot and place a lid on to keep the heat in.
Repeat the soy milk making process above with the remaining two lots of soy beans to make a second batch of milk.
COAGULATE THAT SOY MILK, KIDDO!
Mix 3 teaspoons of flaked nigari with 200ml of boiling water, and set aside.
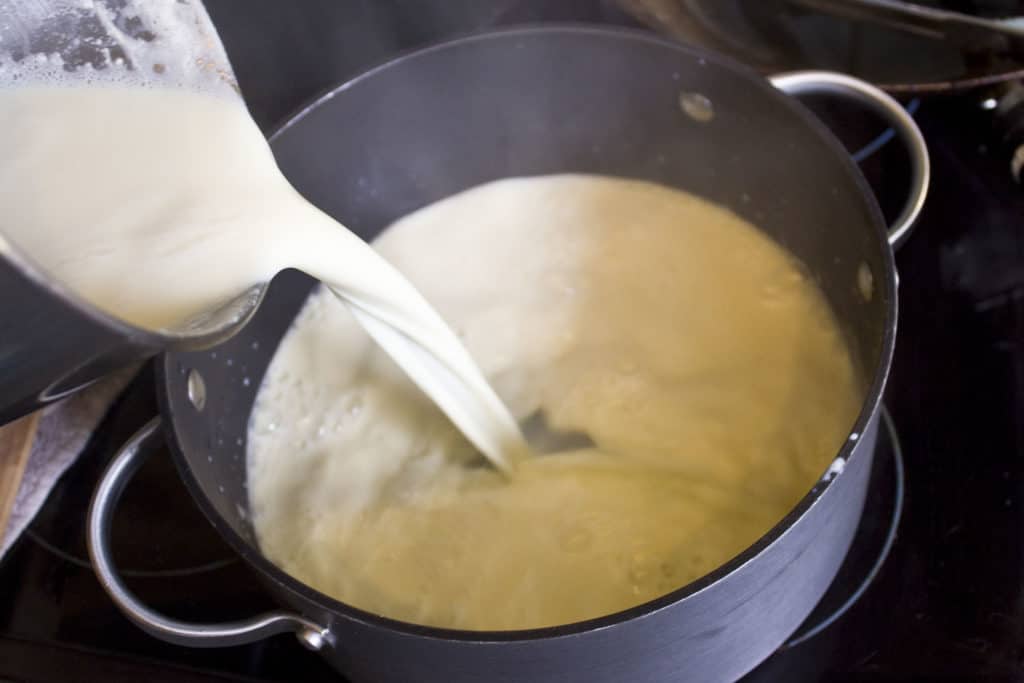
Once the second batch of soy milk is made, skim it and pour it into the pot too. The soy milk needs to be pretty hot here, so just to be on the safe side pop the hob on for a few minutes to get some heat through the fresh milk. Just be sure to stir the whole time.
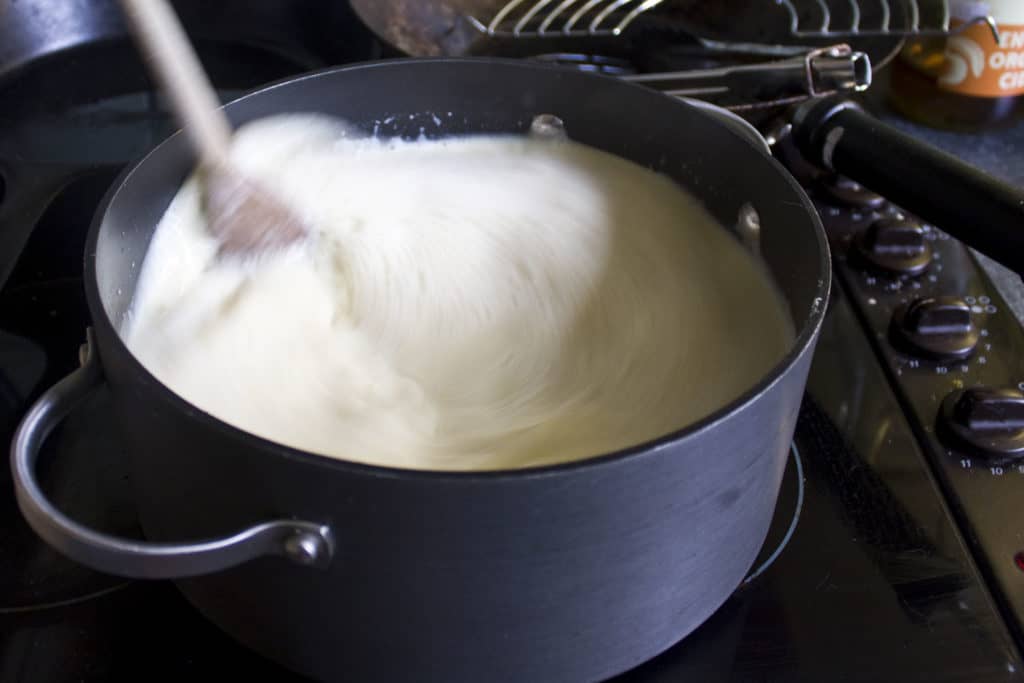
When the milk comes close to a boil, remove from the heat and stir it very rapidly so you get something like a whirlpool effect going on in there.
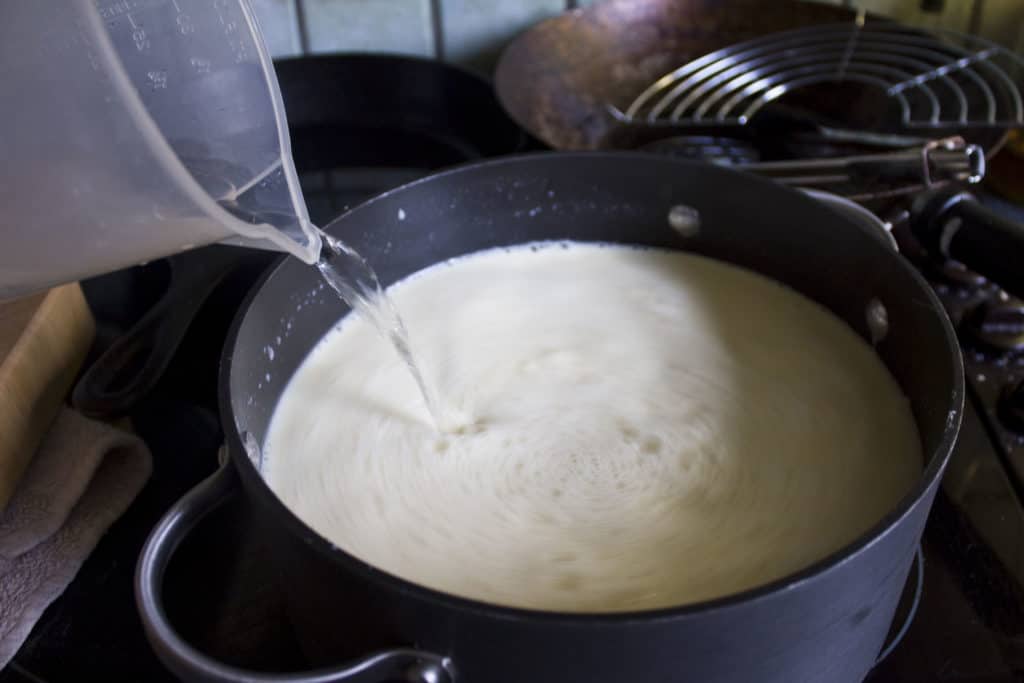
Remove the spoon with which you’re stirring and slowly pour the nigari mixture across the spinning milk. Pop the lid back on and leave it for about ten minutes.
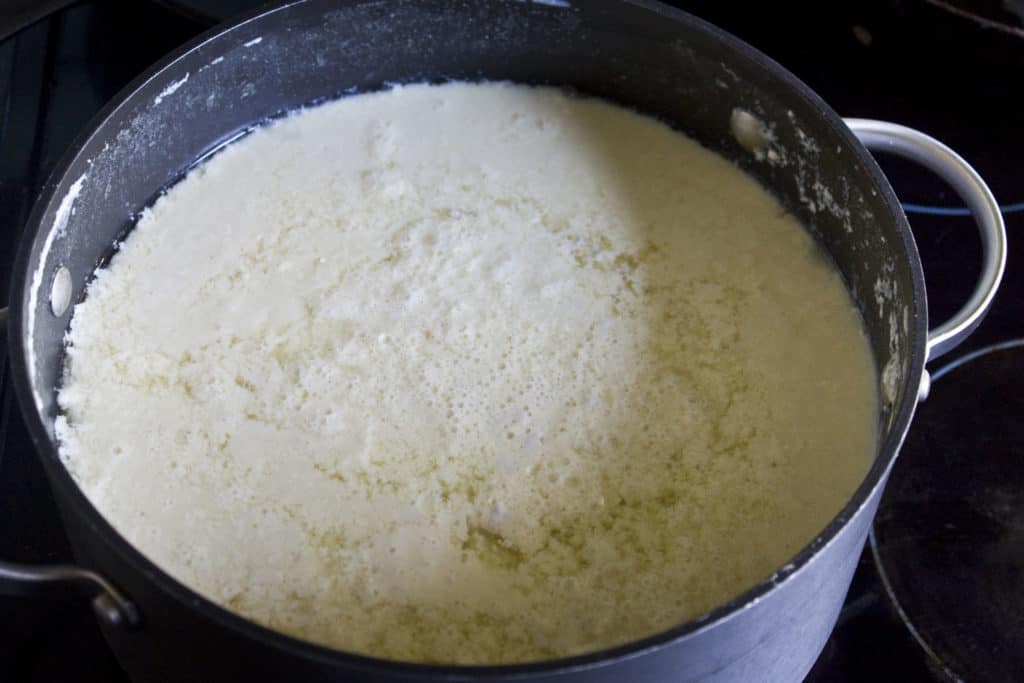
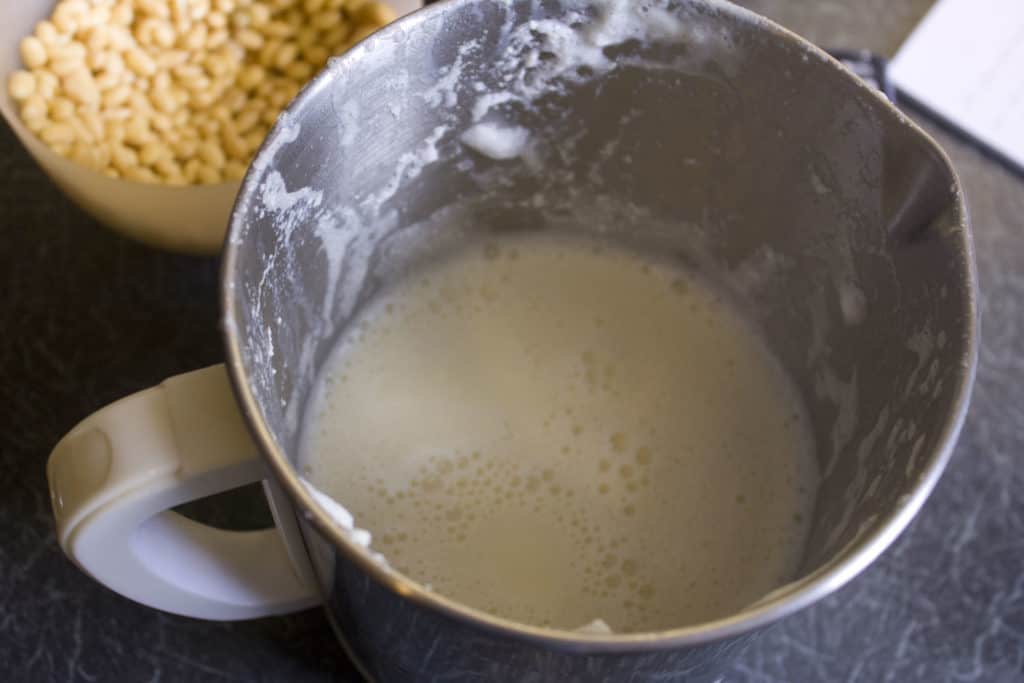
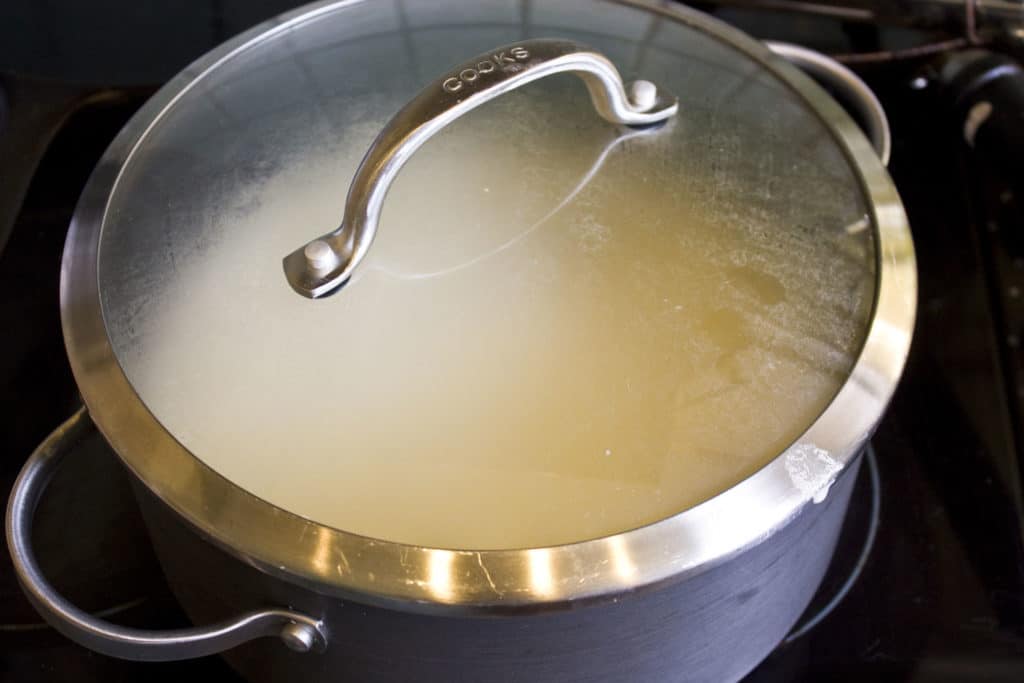
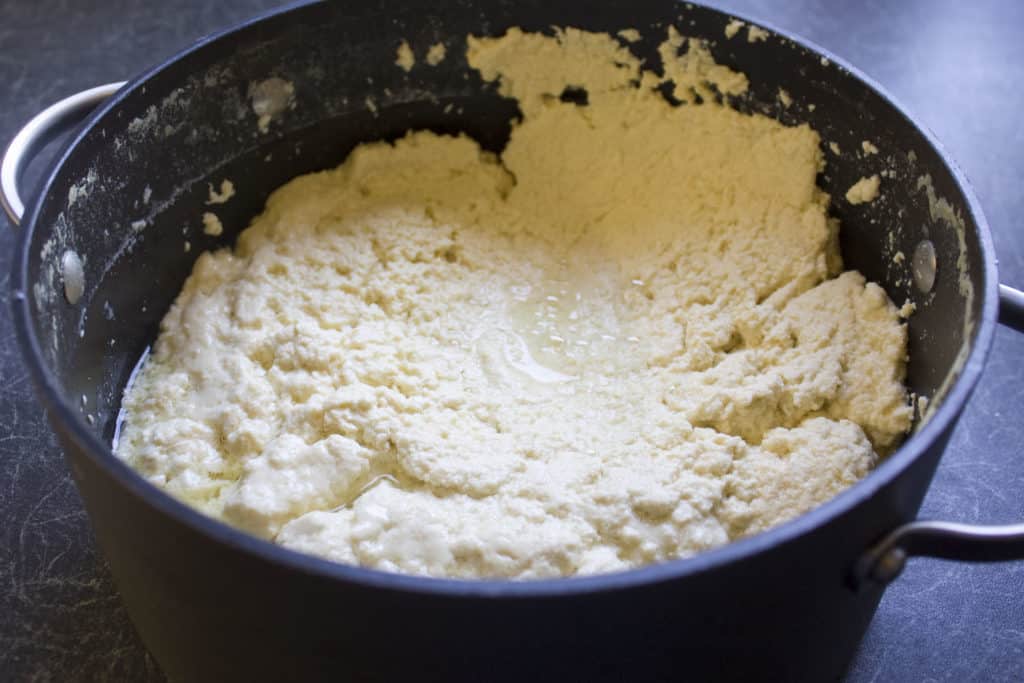
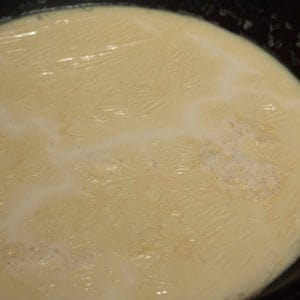
When you remove the lid, you should see something like this. Basically, any liquid left should be clear, a yellowish green colour. That’s the whey, and the white stuff is what’s going to become your tofu very soon. If any liquid is still cloudy, try mixing the pot’s contents a bit by shaking it about (though try avoiding my trick of just dumping it all over the stovetop). If that isn’t enough, add a little more coagulant and leave for another few minutes with the lid on.
Give yourself some space for error here. It takes a bit of experimentation to find what works best for you. Sometimes I mix nigari with gypsum to coagulate, and other times I use just gypsum. There are endless combinations to achieve a consistency you like best. Worst case scenario: you waste a little soy milk because it hasn’t all coagulated, or you over-coagulate the milk and end up with smaller curds and less yield. Not the end of the world.
Other coagulants include sea water, lemon juice, liquid nigari, and vinegar. My recommendation is to use nigari and/or gypsum (calcium sulfate) to make your own tofu. Lemon juice and vinegar won’t yield as much and the flavour won’t be quite the same. I order nigari online, and I’ve found gypsum in kitchen shops (in the beer making section).
STRAINING A-WHEY (HAR HAR)
Wow, that was bad.
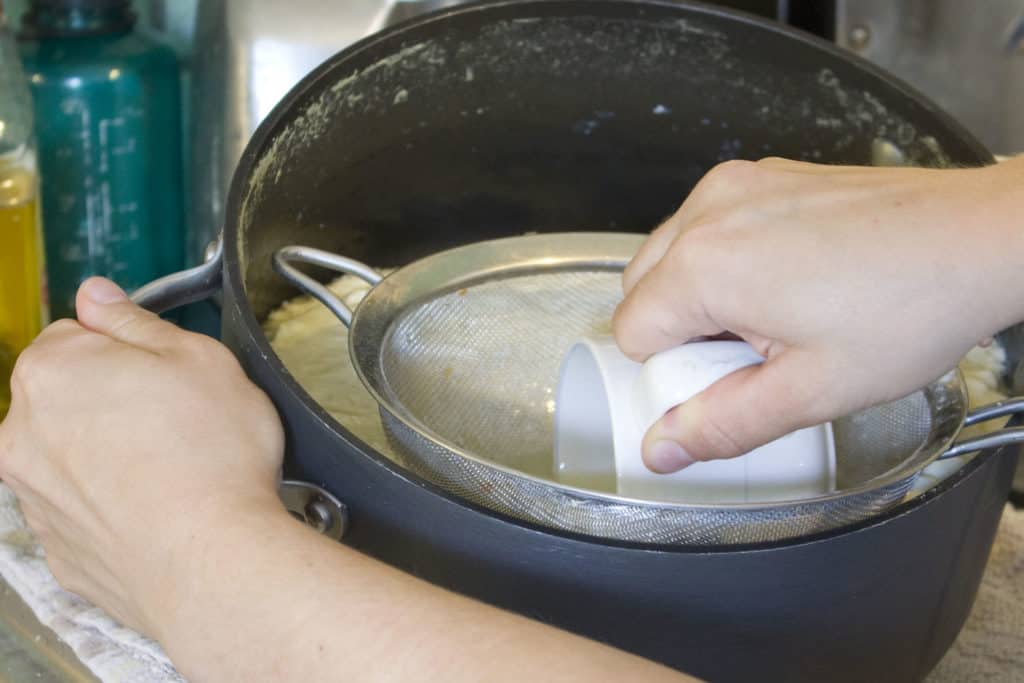
At this point it’s best to move everything you’re about to do close to the sink, just for convenience.
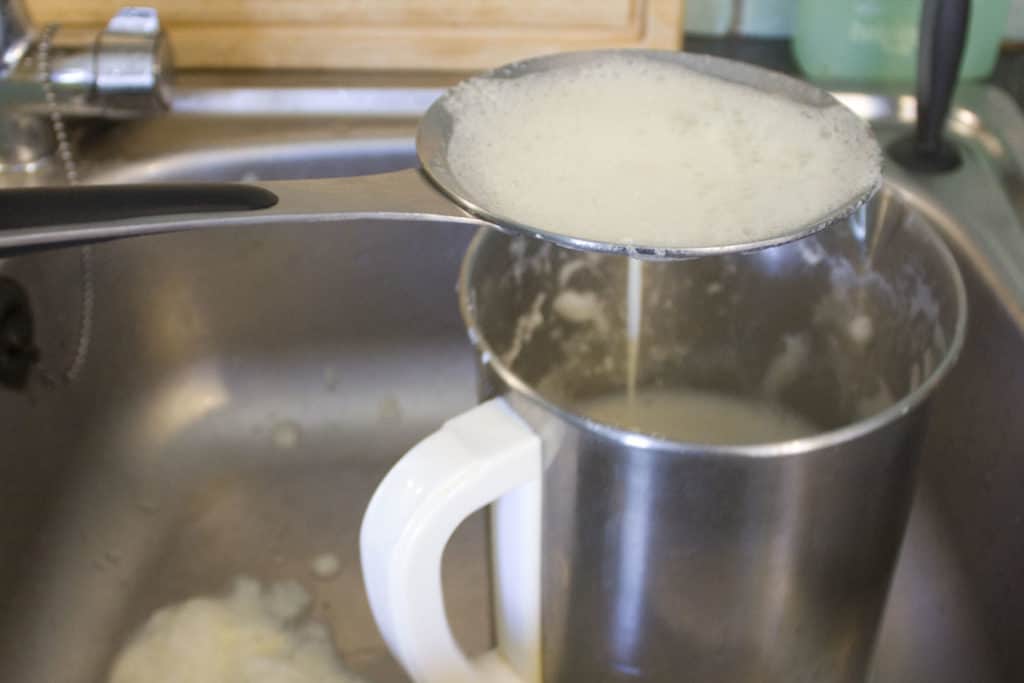
I’ve found the easiest way to separate the soy curds and whey is with your basic mesh strainer and a tea cup. Pop the mesh into the pot, and use the cup to collect and discard the liquid.
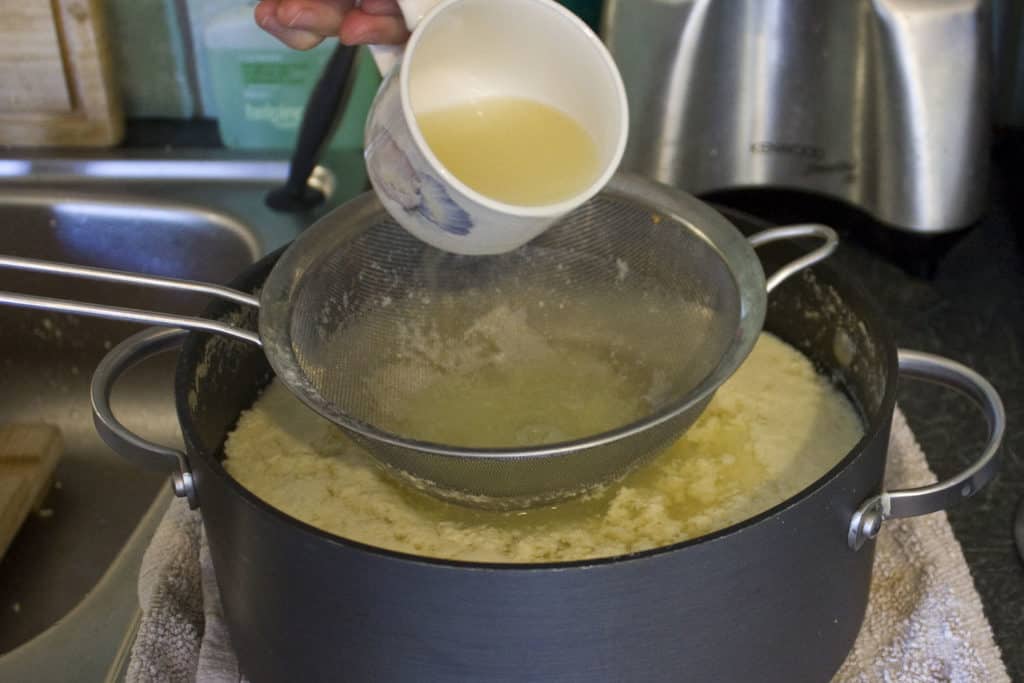
You should be able to remove the majority of the whey with this method, but a little will still remain. That’s okay.
Alternatively, you can line a colander with your muslin or cheesecloth and strain the whole lot by pouring it in there. I personally just find my method quicker and easier.
MOULDING THE SOY CURD INTO TOFU
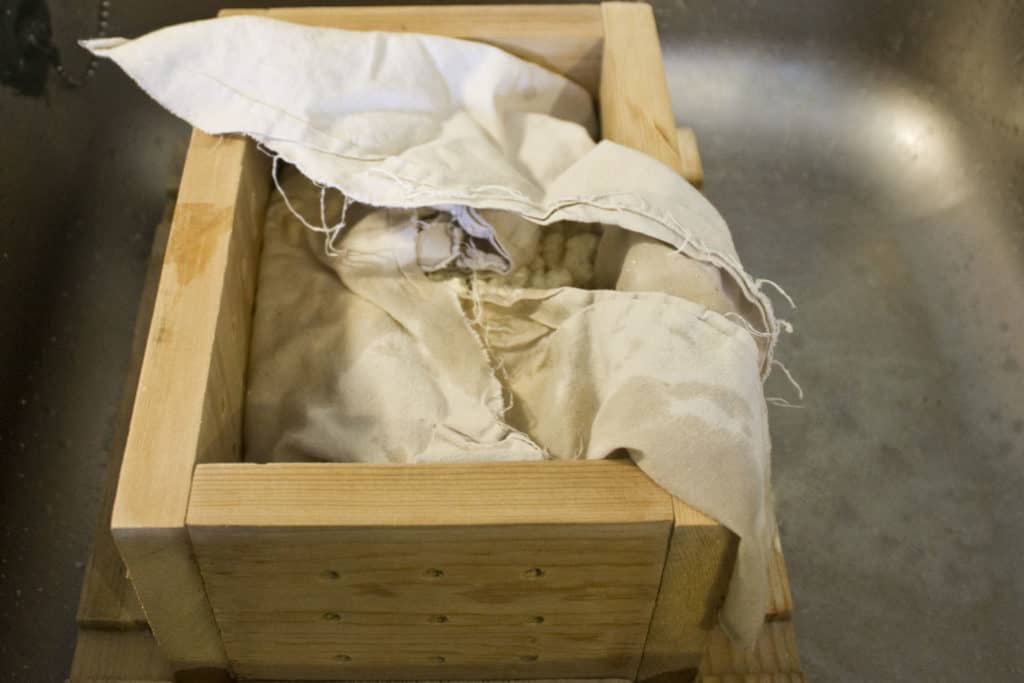
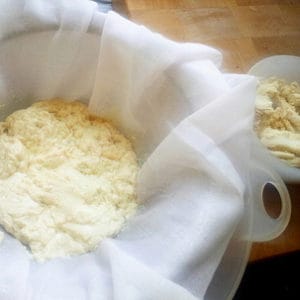
Place your tofu mould into the sink and line it with muslin. Spoon the curds in (I use a smaller straining spoon to do this in order to drain away any remaining whey). You can just dump the whole lot in if you’re not a slob like me who’s likely to chuck the whole thing over the side of the sink.
Put the lid on/in the box and press with your desired weight. It won’t come as a surprise to most folks that the harder you press the tofu, the more firm it will be. If you want a really soft tofu, use little weight and little time.
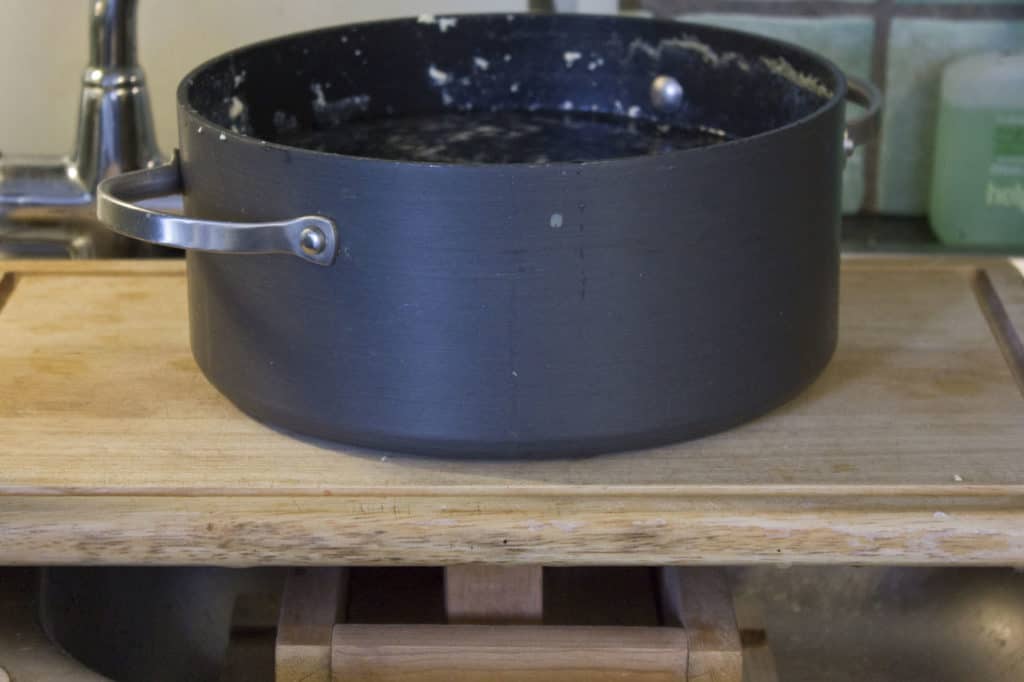
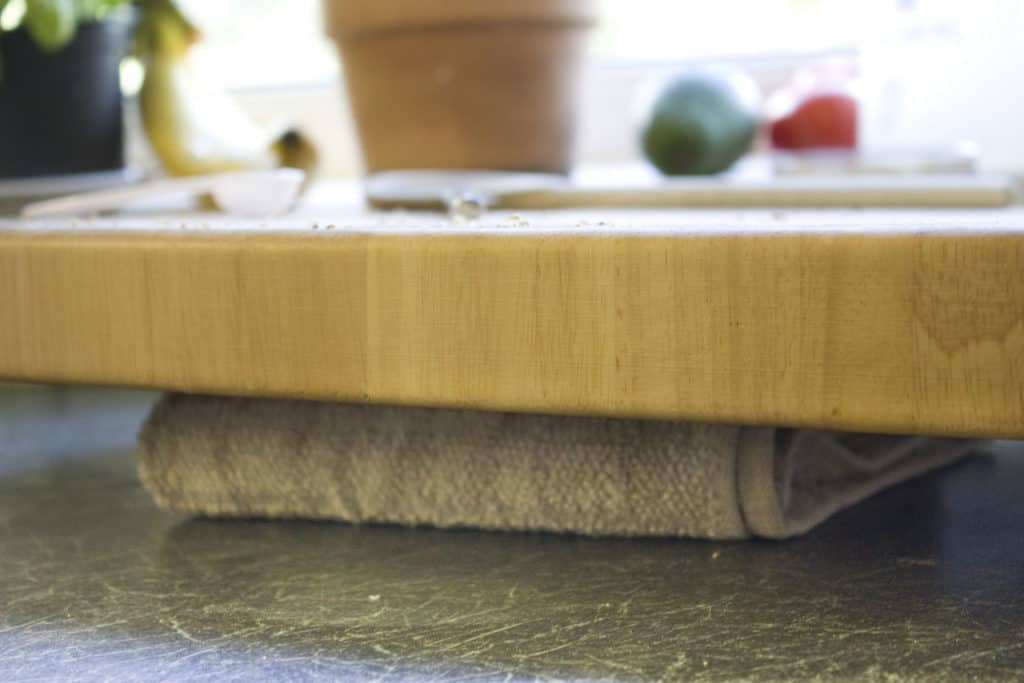
To make a very firm tofu, I usually press the bean curd in the box for twenty minutes or so with a cutting board and a pot of water on top. Then I wrap the cake in a tea towel and further press it for at least ten minutes. Again, this will take some experimenting to achieve what’s the perfect consistency and texture to you for your chosen use of the end product.
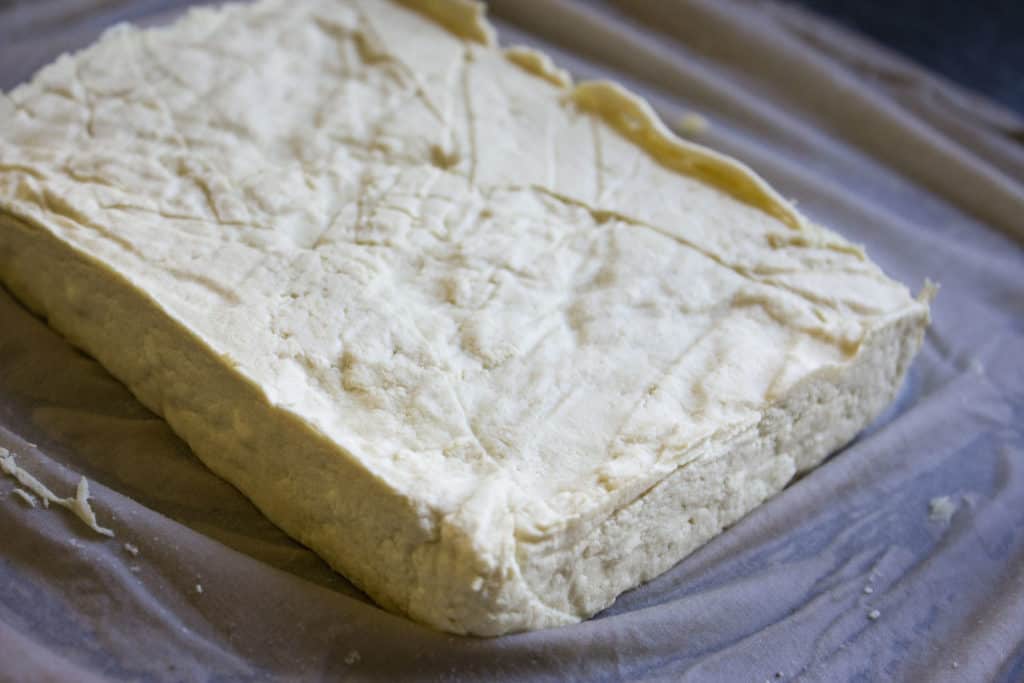
FRESH HOMEMADE TOFU
And there is is, folks! It seems more complicated than it is, but it’s really fast, economical, and easy. If you don’t have a Soya Milk maker, don’t fret. A blender and hot water is an acceptable alternative!
Refrigerate the tofu to store (it’ll keep on its own for a few days, but you can stick it in some liquid too). Be sure to try some while it’s still warm and freshly made though, because that’s when it’s at its best and I think you’ll certainly be able to taste a big difference. I know I can.
If you’re really interested in making your own soy products, I highly recommend purchasing a copy of The Big Book of Tofu, by William Shurtleff and Akiko Aoyagi. It’s how I got started making my own tofu, and it’s full of interesting and useful facts about our friend the soy bean.

sal
Thank you for doing this, i'm going to have another go at making my own tofu.
Kip
No worries! If you're using the white plastic kit that comes with the soy milk, just make one batch of milk (with 2x soybeans). I find the thicker the milk, the better the tofu yield...
Helen
There really is nothing like homemade tofu. I am very surprised that more people do not give it a go - with or without a soymilk machine.
melisser
Wow! I want to do this.. but I am lazy.
Alisa-Foodista
This is amazing! Thank you for making this tutorial, I'd love to try this soon!
Jess - The Domestic Vegan
Wow, so cool!
Cyndi R
I just moved and want to try this as soon as my kitchen is in serious working order again. I want the wooden press and my husband can make one, no problem. Did your awsome Dad have a pattern, see one somewhere, just "know" how to design the press, or what? My new city may be the least tofu-friendly place I've ever lived, so I'm on my own.
Kip
Cyndi, I'll e-mail you the template I have. It's from "The Book of Tofu", which I recommend. I'll scan the pages and send them to you this week.
Cyndi R
Thanks Kip. I think I have an old copy of this book, still packed. I'll try to dig it up before you go to that trouble. I still haven't located the Soy Quick and I thought the kitchen boxes were all unpacked. So, there's no real urgency here. Thanks again.
Cyndi R
Found it! And magically quick, too. With your pics, construction will be a breeeze for the handyman husband. Thanks for the inspiration.
julieannz
this was great i am now letting the tofu set under a pot of water i am hoping it comes out firm and the way it should. i have gone through tons of soy milk trying to get the recipe for tofu right. i am really hoping this is the one that will work for me. thanks
Kip
Let me know how it works out!
Ole_timer_Apple][
Hi, Do you have any recommendations on where can I buy bulk soya beans in the UK?
Google is not proving that friendly...
Kip
I've bought them recently from EcoGreenStore (5kg) and am happy with the service.
Imtheone87
I love you!
Neha
Hi Kip, Thank you for this, it seems totally doable. I'm trying it out this week. While blending beans, do I add any water? If so hot or warm? How about using Epsom salt to coagulate which is what is available where I live?Will it work with same measures?
Kip
Yes, the water and beans get blended together. I'd actually recommend looking at this recipe if you're not using a soy milk machine, just for ease.
I've never used epsom salts so I can't advise on quantity, but I know you can use them. @fussfreeflavours on twitter may be able to offer you details on that...
shipra
why isn't my soy milk coagulating???
Kip
That could depend on a lot of different factors. It could be that the soy milk isn't hot enough, that you haven't used enough coagulant or that it hasn't mixed through well...
Dean Clark
How much tofu did your 350g off beans yield? I have been using 100g and am beginning to think they this may be why my results have been all over the place (often literally).
Kip
Hi Dean. Apologies for missing your comment. I think my gmail account has suddenly decided after all of these years that emails from this domain must be spam! 100 grams is quite a small amount to make a firm tofu. The 350 grams I use here makes enough for two people if used as part of a larger meal, or as a component of a curry or stew. Your often literally comment cracked me up though. No matter how practised I am in the kitchen I still manage to get food on the ceiling. Anyway, I'd be curious how your results change if you use a large quantity.
I reserve the right to improve malicious and trollish comments.