If you want to make your own fresh ramen there is no getting around that you will work for the noodles, but also that it will be worth the effort. The trick to achieving the perfect texture is to find the right balance of ingredients; namely it's using the correct amount of alkaline salts. Too much and you've got soapy tasting noodles, whereas too little leaves noodles lifeless and banishes them to a disintegrated mush at the bottom of your steaming ramen bowl.

The secret to ramen is alkaline salts
There are three elements of ramen that sets these noodles apart from others: texture, colour, and flavour, and alkaline salts are how these aspects are achieved.
Good ramen ought to be able to withstand the heat of boiling point temperature stock, maintaining its signature bounce and chew until the last slurp. The texture should be firm but still elastic and chewy. A cooked ramen noodle should be stiff and springy with chew and no sogginess, and with a slippery smoothness.
Normally invisible colour pigments in flour are made visible by alkalinity, hence the muted yellow hue of ramen that becomes even more apparent after cooking.
The flavour is hardest to describe, other than saying ramen tastes alkaline. To me it's the faintest element of ammonia meets something floral and they marry to create an eerily eggy flavour. Alkalinity, as briefly mentioned earlier, also imparts a soapy flavour component. In the right quantity, however, this is pleasant and without bitterness, leaving you with a just-right slippery noodle you can't get enough of.
How do the alkaline salts work?
The ingredients in our foods are sensitive to their environment, and so changing the pH can have significant effects. For instance alkalinity, the opposite of acidity, is what gives pretzels their characteristic brown outer colour (alkaline substances encourage browning). Many Southeast Asian sweets would lose their structure without nam bpun sai, or alkaline limewater solution. In Thailand the same slaked lime is used to create enduring crispiness in batter fried foods. Alkalinity is also responsible for corn tortillas smelling and tasting the way they do. Think about it; polenta doesn't have that signature corn smell, and and that's because the corn base isn't treated with an alkaline substance as it is with masa flour.
With noodles the key is gluten, the molecules of which form a tight network when introduced to water (especially if it's warm). When the pH of the water is high (i.e. is alkaline), this change in the chemical environment encourages an even stronger molecular structure in the dough. This results in a much firmer noodle.
It's very straightforward to make your own alkaline salts using the method introduced by Harold McGee several years back. It's easy and the results, if stored well (dry) will keep for months. Simply line a tray with foil and tip some baking soda out, shaking to even the powder out into a thin layer. Bake at 125-140 degrees Celsius (250-300 degrees Fahrenheit) for an hour. This turns sodium bicarbonate into sodium carbonate, a very alkaline substance. Store it in a jar in a dry cupboard, but be careful handling as it can irritate your skin with prolonged contact.
Other ramen-making notes
While I realise many North Americans balk at the thought of using scales for cooking (I once did too), accuracy in weights can't be argued. I also recommend weighing your water to ensure the exact quantity (1 gram = 1 millilitre, so even I can handle those maths).
When it comes to choosing your ramen, homemade is always preferable, but if this is too time-consuming or you’re just not interested, you've still a few options available:
- Search for other sources of fresh noodles, either from a noodlemaker or in the refrigerated section of an East Asian grocer.
- Dried ramen noodles are far less labour intensive to make and require only a pot of boiling water to prepare. Instant ramen packet noodles are also a possibility, although the texture will be much softer as they are prepared in an entirely different fashion. Also worth knowing: dried chuka soba, which translates as "Chinese noodle", are in fact ramen noodles.
- I have yet to try it, but the Serious Eats baking soda spaghetti hack is an intriguing option.
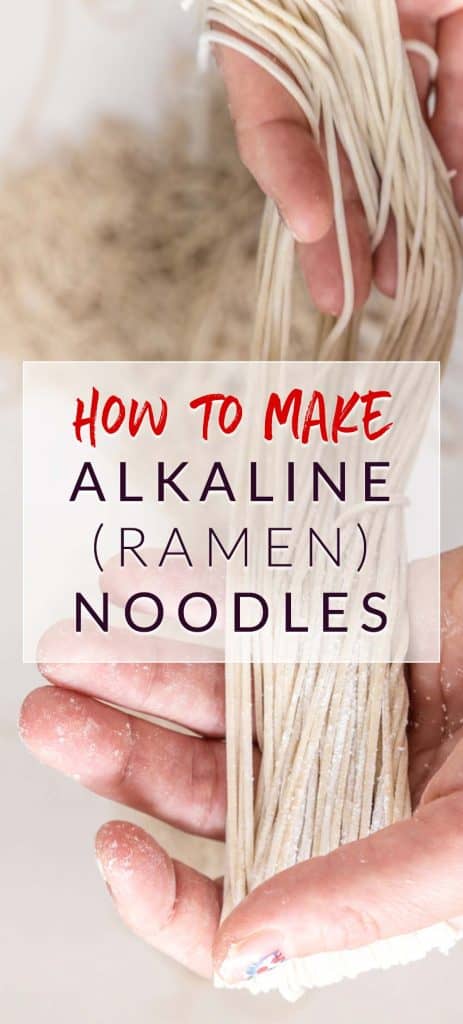
Ramen (Alkaline) Noodles

To make sodium carbonate, simply bake baking soda at 125 to 140 degrees Celsius (250 to 300 degrees Fahrenheit) for one hour. The cooking times provided in this recipe are for medium-thick noodles, so consider lessening the boiling time if you roll your noodles thinner. Cooking time is important because ramen broths should be boiling hot, and the noodles will break down quickly in the soup if they are overcooked. If you intend to use the noodles for a mazemen (broth-free) recipe or cold, you can cook the ramen for longer. Fresh ramen noodles freeze well.
Ingredients
- 270 grams/millilitres lukewarm water
- 12 grams (3 teaspoons) sodium carbonate (baked baking soda)
- 500 grams bread flour
- 100 grams all purpose flour
- 13 grams (2 teaspoons) fine sea salt
- Cornflour
Directions/Method
- Add the sodium carbonate to the warm water and mix until dissolved.
- Add the bread and all purpose flours together with the salt in the bowl of a stand mixer. Using the dough-kneading attachment, turn the mixer on to low. Slowly add the water, about a quarter quantity at a time, over the course of 30 seconds. The dough should begin to come together after a couple of minutes, but it will be quite shaggy. If the dough isn’t coming together, add one tablespoon of water at a time until it does, but remember you are not trying to achieve the consistency of a normal pasta dough; ramen dough should be quite dry and difficult. Your mixer should appear as if it's struggling.
- This is the point at which you decide whether or not to risk the motor of your stand mixer. Since this dough is extremely tough, it is very taxing on the mixer’s motor. After my dough comes together (2-3 minutes), I turn it onto my countertop and knead by hand for an additional 8 minutes. You will curse and sweat, and if you aren’t then carry on but add less water next time. All in all, you want to get a good ten minutes worth of kneading time in, regardless of whether you carry on with your stand mixer or knead by hand.
- After you’re finished kneading, form the dough into a ball and wrap it in cling film or pop it in a zip-loc baggy for an hour at room temperature.
- After an hour, the texture will have softened considerably. Divide the dough into 7 approximately 125 gram pieces or 6 approximately 150 gram pieces, depending on how big you want your noodle portions to be (the former is more than enough for a hungry me).
- Remove one piece of dough from the bag/cling film, keeping the remaining pieces covered until it’s their turn to be squashed. Use your hand to press the dough into an oblong shape.
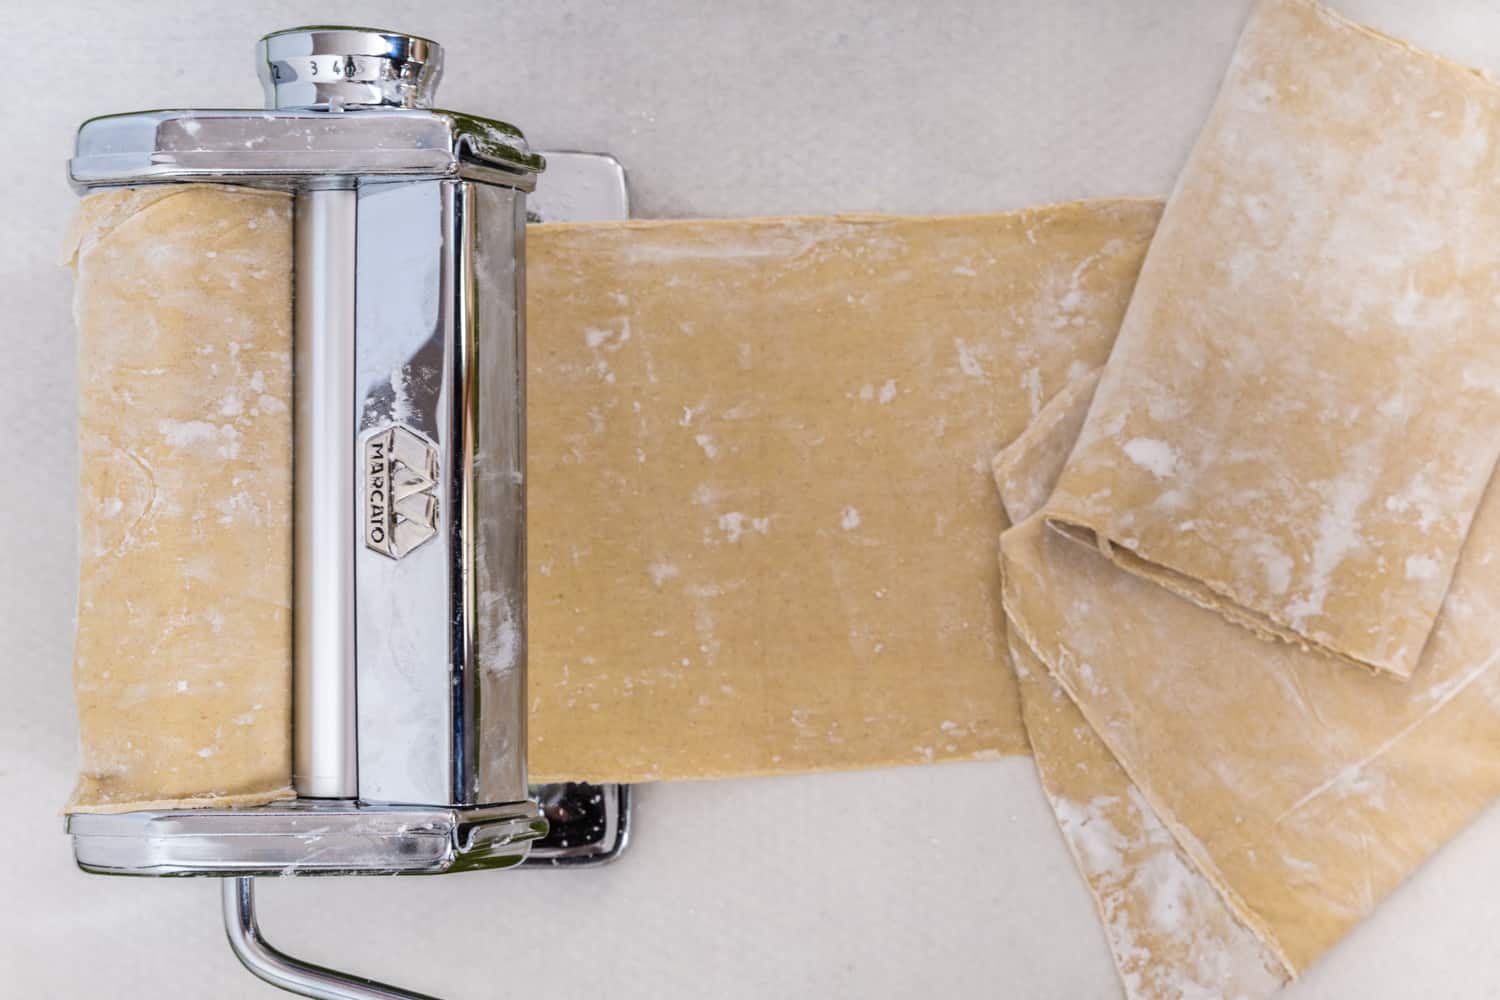
- Starting on the widest setting of a pasta machine, roll the dough through. Fold it over on itself and run it through once more. Don’t worry if the edges are a little bit rough to start.
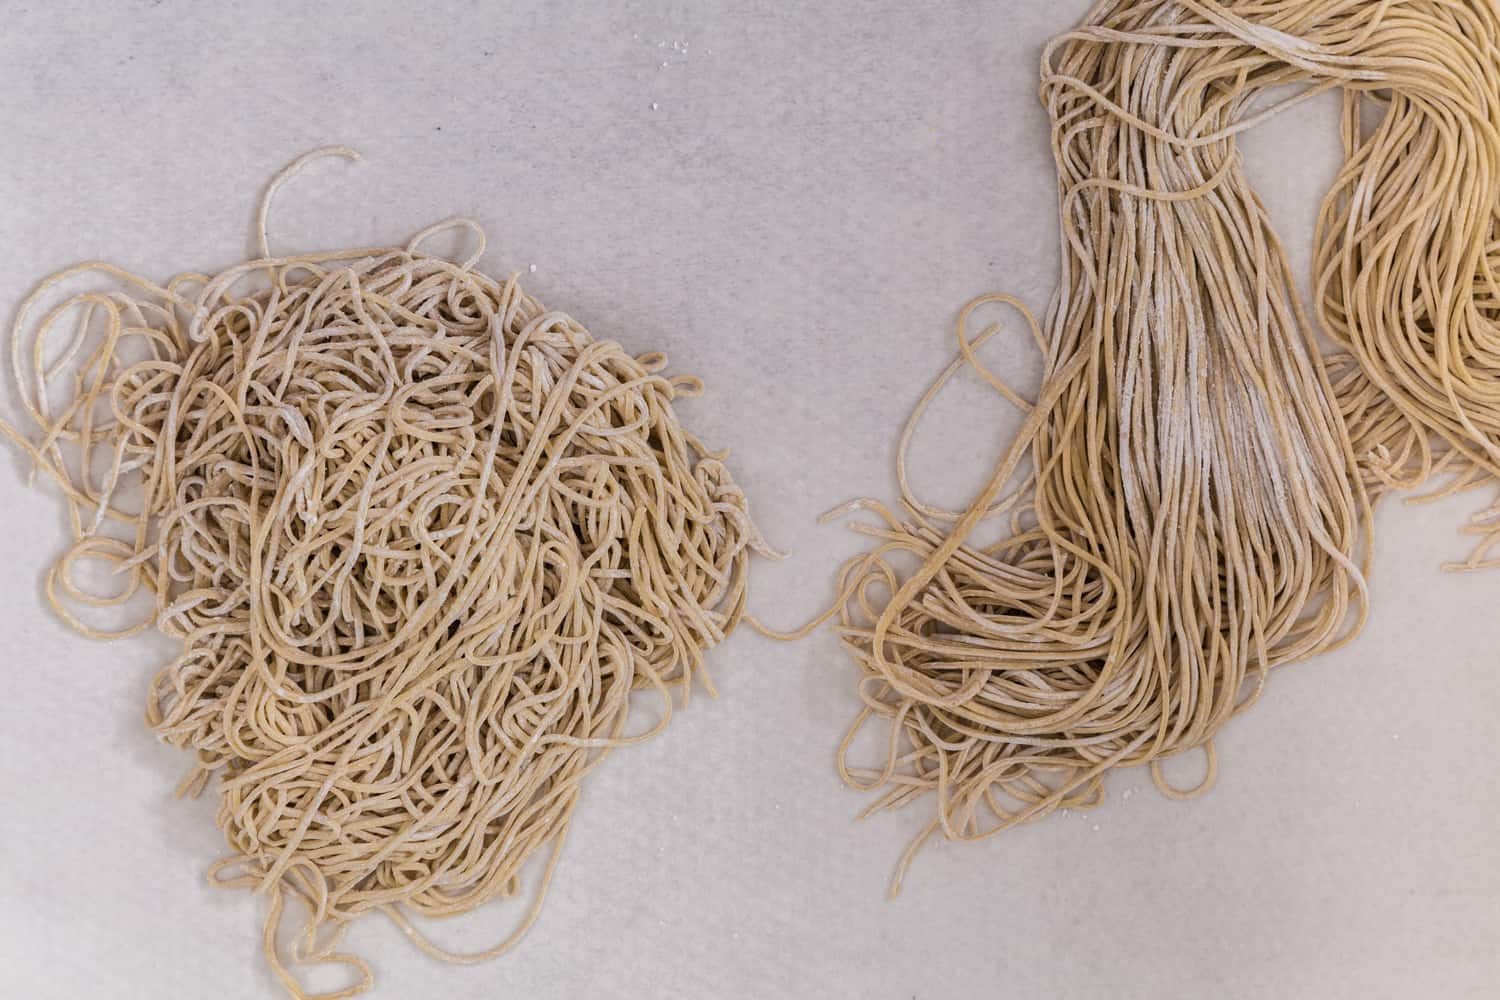
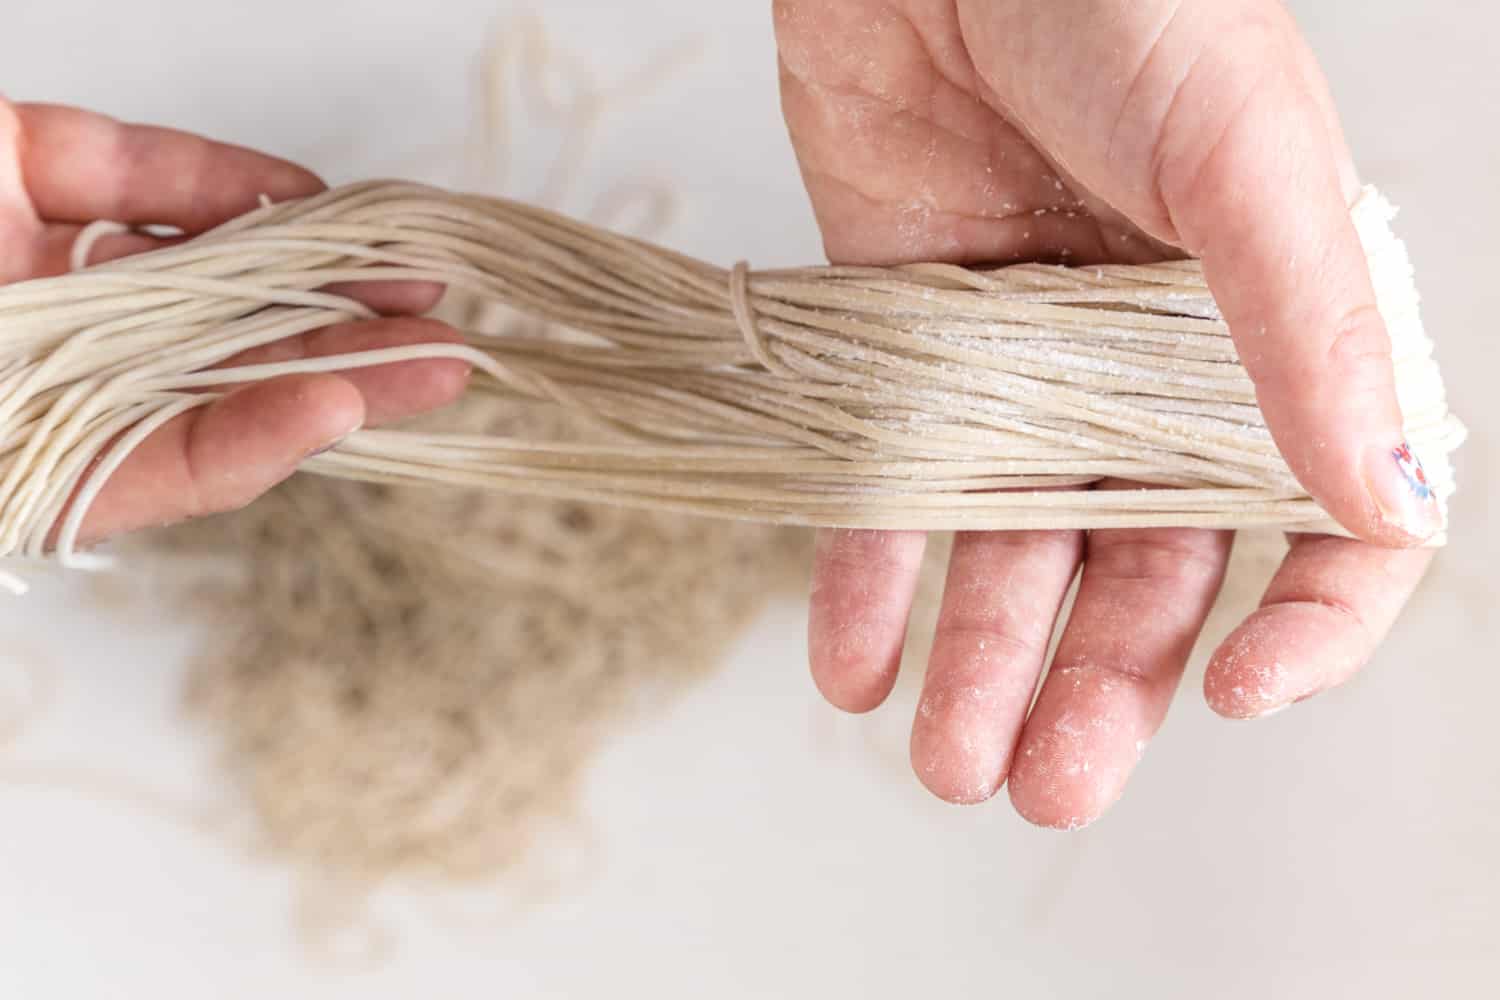
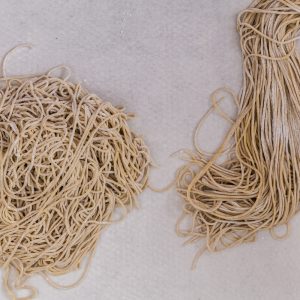
- Continue running the dough through the machine until the noodles are as thin as you desire them to be. The cooking times below assume you are making your noodles a notch or two thicker than the middle setting. Liberally dust the ramen sheet with some cornflour on both sides. Cut the sheet according to how long you want your noodles to be. Run the sheet through a spaghetti-making attachment and dust with more cornflour.
- To cook the noodles, bring a large pot of unsalted water to the boil. Timing is important because you want the noodles to be cooked, but retain enough bounce to withstand the boiling heat of ramen broth. Each portion is best cooked separately, on its own.
- If you have a noodle basket: Set a timer for 50 seconds before dropping the noodles in and hitting start. As soon as the noodles go in, agitate them with cooking chopsticks or a fork to ensure they don’t stick together. As soon as the alarm pings, pull the basket out and shake away any excess water. Immediately use the noodles as desired.
- If you don’t have a noodle basket: Get a mesh strainer ready at the sink. Set a timer for 45 seconds before dropping the noodles in and hitting start. As soon as the timer pings, get your saucepan to the sink quickly and dump the noodles into the strainer. Immediately use the noodles as desired.
- Author: Kip Dorrell
- Makes: 6-7 servings
- Cuisine: Chinese
Pin this vegan recipe