
For those who follow this blog closely, you'll know that I make my own soy milk and tofu. My current means for achieving this is with a Soy Quick soya milk maker, but the method isn't important because no matter who you do it you'll always be left with soy pulp from the ground beans.
I generally place the okara in muslin and press as much liquid out as possible before storing the pulp in the refrigerator, sealed. I've never had any issues cooking with okara based on this initial prep, but I realise it's difficult to follow a recipe when the liquid content of your okara may be slightly different than mine.
For that reason, I've decided to begin using dried okara in any recipes I write; below is the method for drying.
How to dry okara
- Preheat your oven to around 100 C (210 F). The exact temperature isn't important; you just want a low heat.
- Place a mesh colander over a large bowl and line the colander with thin muslin. If you're not worried about saving the soy milk you squeeze out then you can eliminate the use of the bowl (but it's good to save for cooking).
- Place your okara in the muslin, bundling the fabric up around the pulp. Squeeze as hard as is humanly possible in order to extract as much liquid is possible.
- Turn the now somewhat dried pulp out into an oven pan and spread as thinly and evenly as you can. Place in the oven, mixing every 15-20 minutes until the okara has dried out. This could take an hour or 4 hours depending on how much okara is on your baking sheet. For this reason I recommend re-reading the bit about spreading as thinly as possible. Use a second tray if need be.
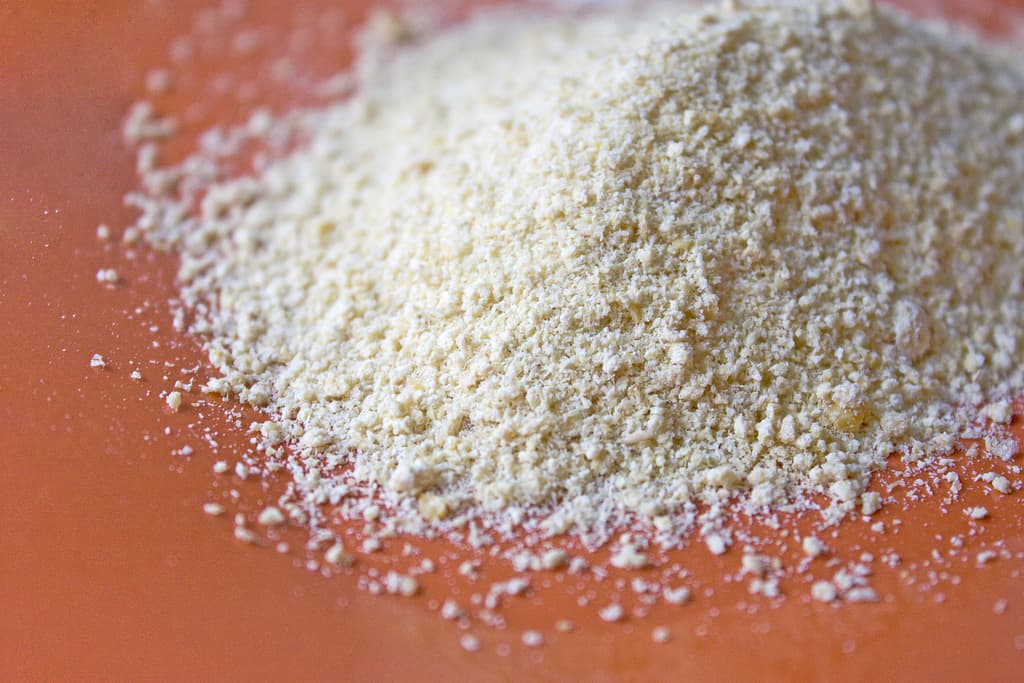
- Once it's dry, remove the okara from the oven and allow to cool. Place the crumbs in a blender or food processor to break up and store in an air tight container.