
I made these easy vegan cookies, which were a hit, for the last London Vegan Potluck. Like with most dishes I bring to potluck, I throw a bunch of stuff in a bowl and hope it works (to anyone from the London vegan community who reads this, I confess you are my guinea pigs). I'm a little more precise when it comes to baked goods, and so I have a written recipe I'm able to share.
Cardamom and lime are a natural pair, but the odd flake of sea salt absolutely marries the two. The spice is mellow but present, so pay attention while you eat 16 cookies in one sitting. No judgement.
Recipe Notes
Please note the recipe uses cashew pieces rather than whole cashews. Due to the fact that I'm a cheapskate and can't have nice things, I've never made the recipe with the latter. If you're posh enough to own entire cashews, opt for weighing rather than measure-cup-ing (which everyone should do anyway). I'm also pretty sure you could use other butter substitutes, but I'm qualifying the brand since I've received complaints of recipes not working stateside when subbing with Earth Balance. But really, it should work.
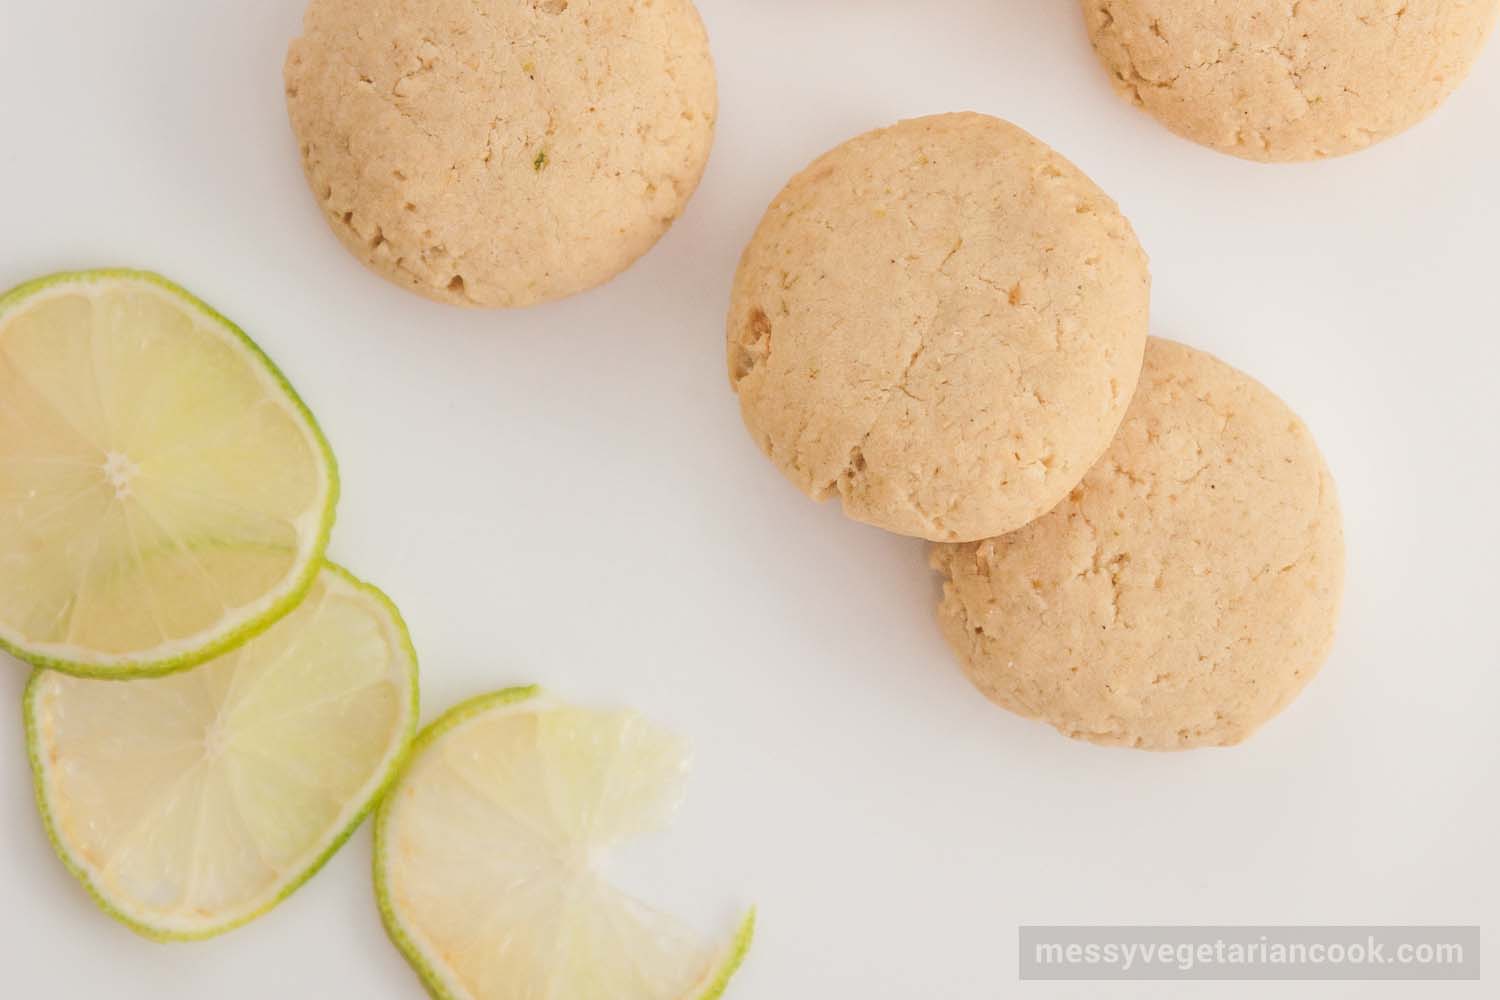
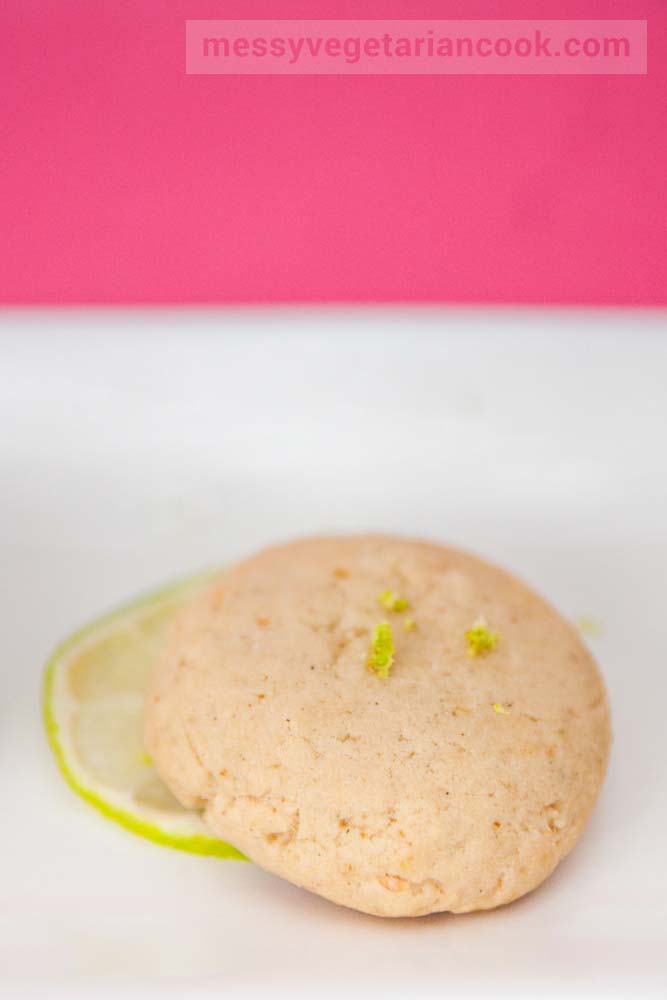
Cashew Cardamom Lime Cookies
- Directions/Method
- Preheat the oven to 175 degrees Celsius (350 Fahrenheit). Line a baking sheet with parchment.
- Whiz the cashew pieces and flour in a food processor or high speed blender until the nuts are finely ground. A few small chunks are okay. In a medium bowl, whisk the flour mixture to combine with corn flour, cardamom, lime zest, baking powder, and sea salt.
- Beat the Pure and sugar in a separate large bowl until fluffy. Beat in the lime juice and soy milk. Add the flour mixture and beat on low until just combined.
- Form the dough into 1 tablespoon balls about two inches apart on the lined baking sheet. Lightly press each to about half an inch in thickness. Bake for 12-15 minutes, until the cookies are slightly golden around the edges and lightly brown on the bottom.
- Leave to cool on a wire rack (or not – who am I kidding? I'm mostly too lazy to dig that thing out of the cabinet).